-
Access Online Payment Settings
-
-
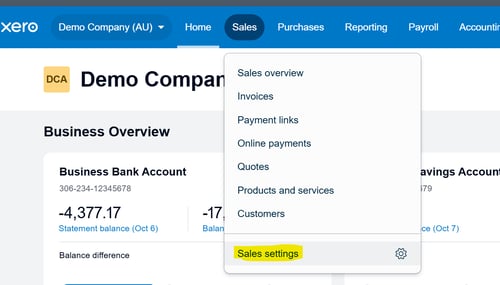
Log in to Xero and select your organization.
-
Go to Sales > Sales settings.
-
-
- Click Online payments
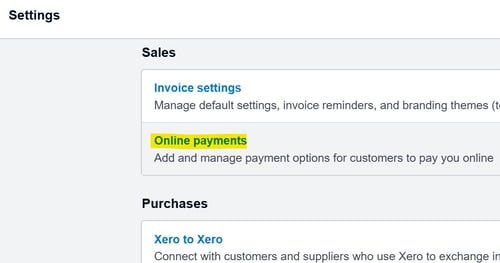
- Click Online payments
-
Configure the Custom Payment URL
-
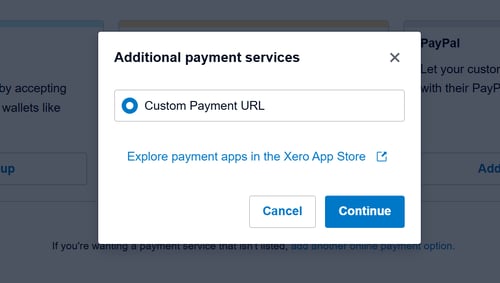
Click Add a new service and select "add another online payment option".
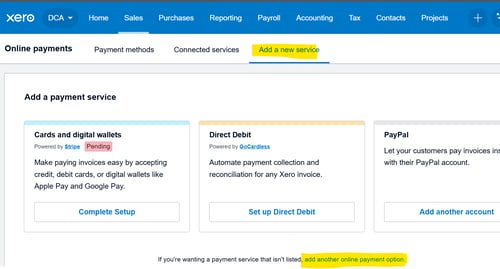
- In the "Additional payment services", select Custom Payment URL and click Continue.
-
-
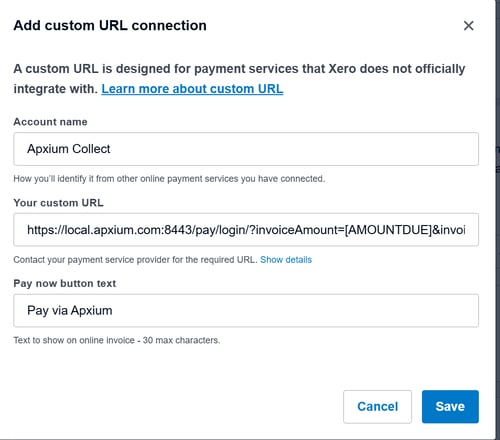
- In the Add custom URL connection window:
- Your custom URL: Paste the unique Custom Payment URL provided by your Apxium Onboarding Team.
The example below shows a sample URL:https://eric.apxium.com/pay/login/?invoiceId=[INVOICEID]&merchantId=1011000160
-
Pay now button text: Enter "Pay Via Apxium"
-
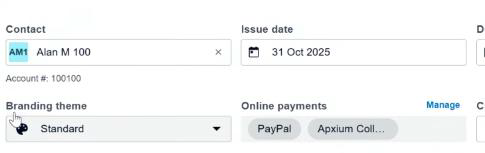
Client’s Xero Payment Page View
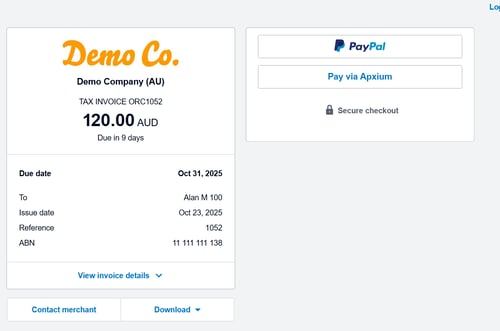
This is how the service appears at the invoice setup level, where it can be turn on, off, or set as a default:
-
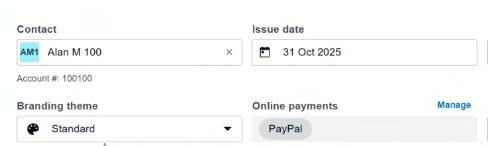
If Apxium is "Not on":
- The Online payments section shows existing services.
- Select 'Manage' to change active services.
-
Add Apxium Collect in Online Payments:
-
Check the box for Apxium Collect. Click Save.
-
The invoice will now reflect Apxium Collect as an active method.
-